Fixing up a classic SE/30
Wanting to hone my newfound skill at restoring computers, I dove into repairing something more valuable
Fresh on the success of restoring the Macintosh SE, I decided to tackle fixing up my Macintosh SE/30.
This computer has some sentimental value to me as when I acquired it in the mid 90s I briefly ran a web server on it because I could. Those were the days when running a web server on a device meant that device had reached its pinnacle of being. I think by now only Doom has been run on a wider variety of things.
But is the SE/30 actually valuable? Well, it’s interesting to see completed listings on eBay that ran into the hundreds of dollars, which is more than its siblings of the era. I think the SE/30 symbolizes a performance-oriented flex on Apple’s part, a bit like the Apple IIgs a few years before it, but metaphorically more like shoving a V8 into a VW bug. The SE/30 was the most powerful computer Apple ever fit into the iconic black & white-monitored compact Macintosh design. The SE/30’s processor was four-times faster than its regular SE sibling, and the SE/30 can now be easily modified to accept up to 128Mb of RAM — while the SE maxed out at 4Mb. To put these numbers into perspective, when the first iMac shipped almost a decade later it did so with 32Mb of RAM. Another number for perspective: The SE/30’s base price in 1989 was $4,369 USD, or almost $10,000 in 2022 prices.
In any case, the SE/30’s expandability has been fertile ground for the enthusiast community for more than 30 years, and that right there is what makes it a fun platform for projects.
First up, the recapping. The SE/30 motherboard has 11 surface mount capacitors, which means I got to use my heat station for the first time!

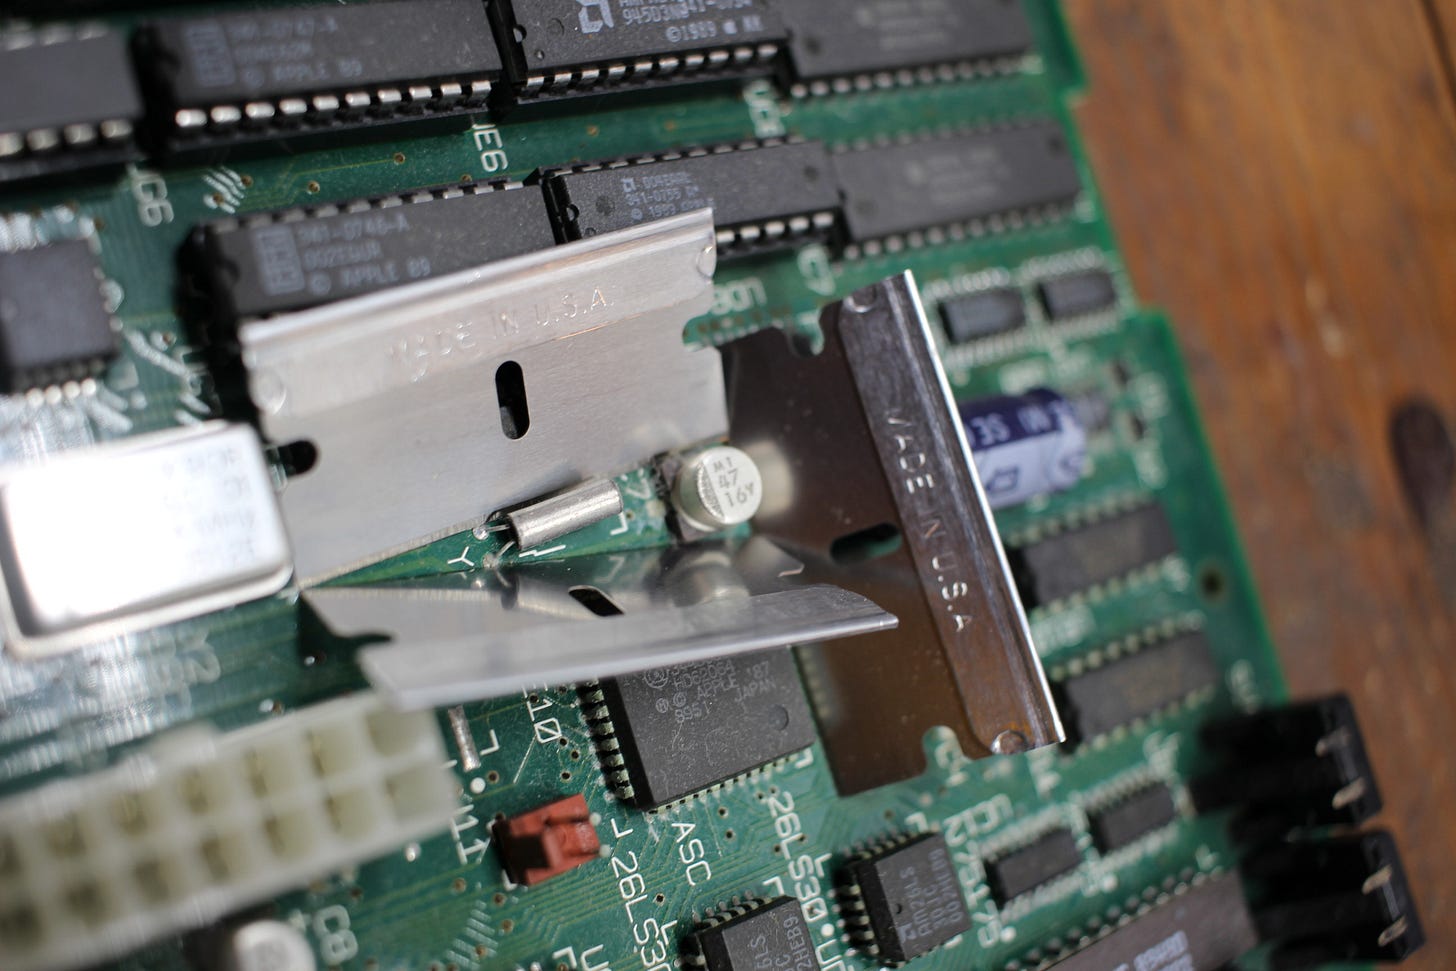
Taking a tip from Branchus Creations’ excellent walk-through video, I used some metal blades as walls to keep heat away from other nearby sensitive parts. Sure enough directing some hot air at the capacitors for a few seconds would see them gently lift up and they could be pulled off with tweezers. In a few cases the heat actually created a small, spark-like puff of capacitor death too.
I decided to install tantalum capacitors which folks say will last forever, which is the exaggerated way of saying up to 40 years — and they should be fairly stable. I admit I just wanted to try these fancier capacitors at least once in a computer restoration project. The tantalum kit from Console5 ran about double the cost of a kit of regular electrolytic capacitors. These new capacitors were also tiny! This was definitely a project where having the microscope again proved useful.

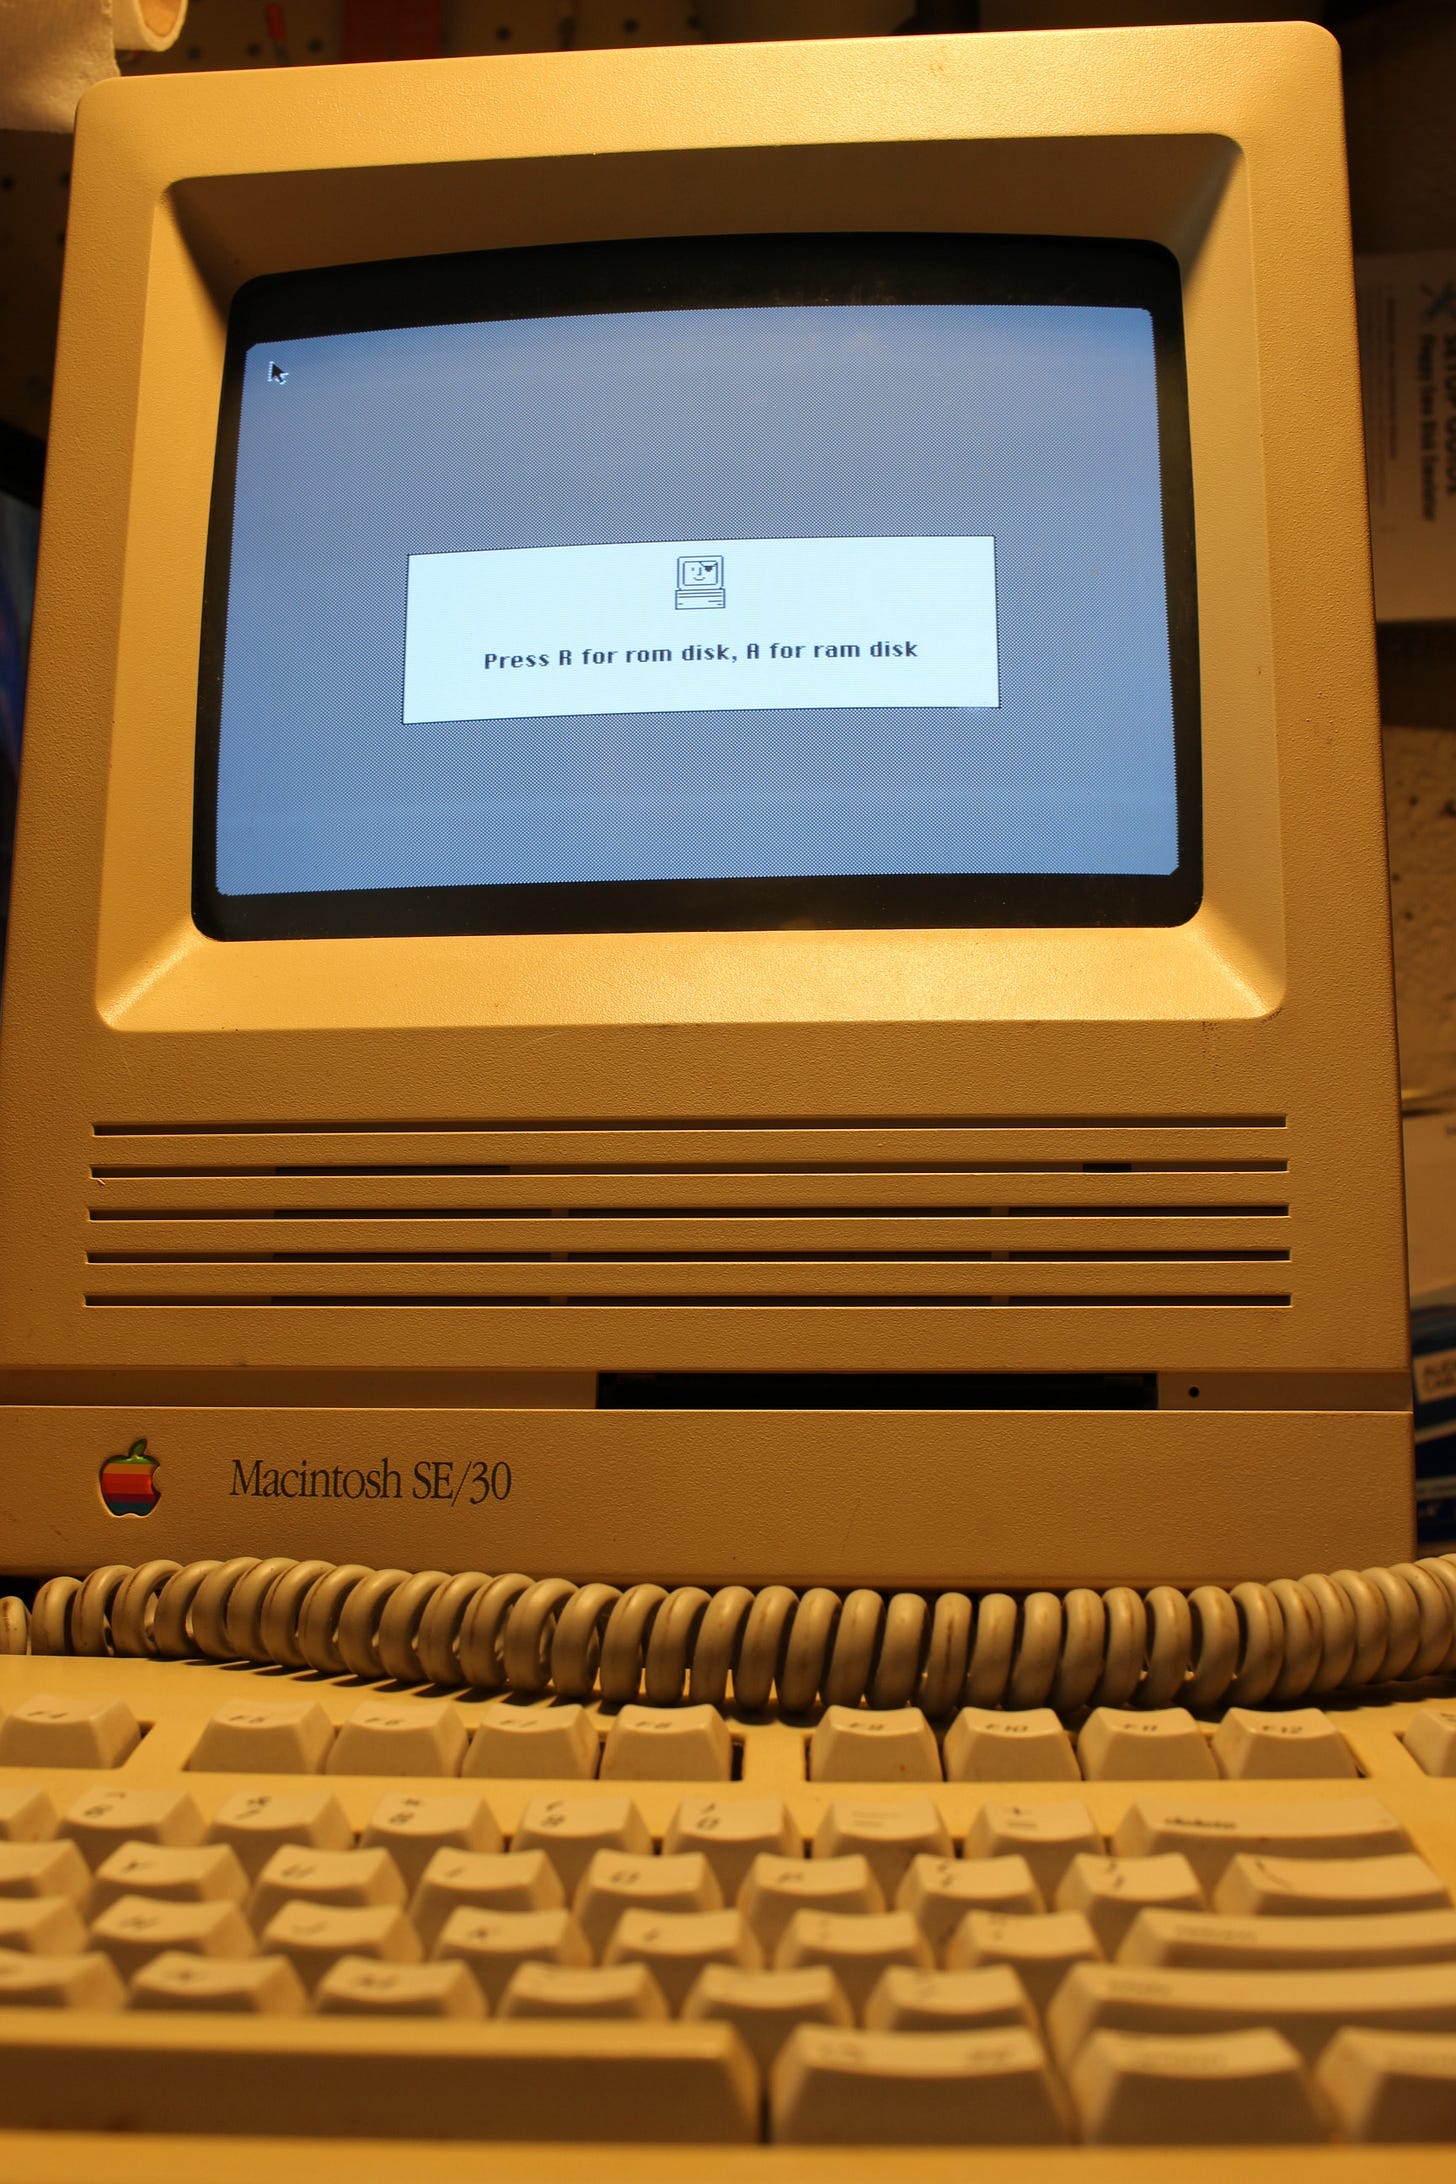
I won’t keep you in suspense. The recapping worked, and the computer powered right up when reassembled. Even better, while I had the SE/30 opened up, I installed the first modification: A new ROM to teach the computer some new tricks.

I went with the “ROM-inator II” from Big Mess o’ Wires, which improves the SE/30 in several cool ways. It has System 7.1 built into the ROM so the computer can start nearly instantly without any other disk. It adds also adds support for external hard disks, and the aforementioned ability to use up to 128Mb of RAM, while also turning the machine fully 32-bit, and therefore able to run more software than it did out of the box. And on the frivolous fun side of things it has a skull and crossbones on the card, it gives a pirate’s eye patch to the start-up happy Mac icon, and it changes the start up chime to be distinctively different.
Next up I want to get a classic Macintosh emulator running so that I can use it to create a boot drive with an internet-capable version of Mac OS and other interesting software. I’d also like to try installing a Blue SCSI drive in place of the SE/30’s defunct 40Mb spinning-disk hard drive. This computer already has an ethernet port, so with luck it will find its way back online too.
Subscribers, keep going for more behind-the-scenes photos of this phase of the project.
Keep reading with a 7-day free trial
Subscribe to Smiling Savage to keep reading this post and get 7 days of free access to the full post archives.


