Macintosh SE recapping project update
My first attempt at replacing the capacitors in an old computer was a success. Here's what I learned and some options for next steps.
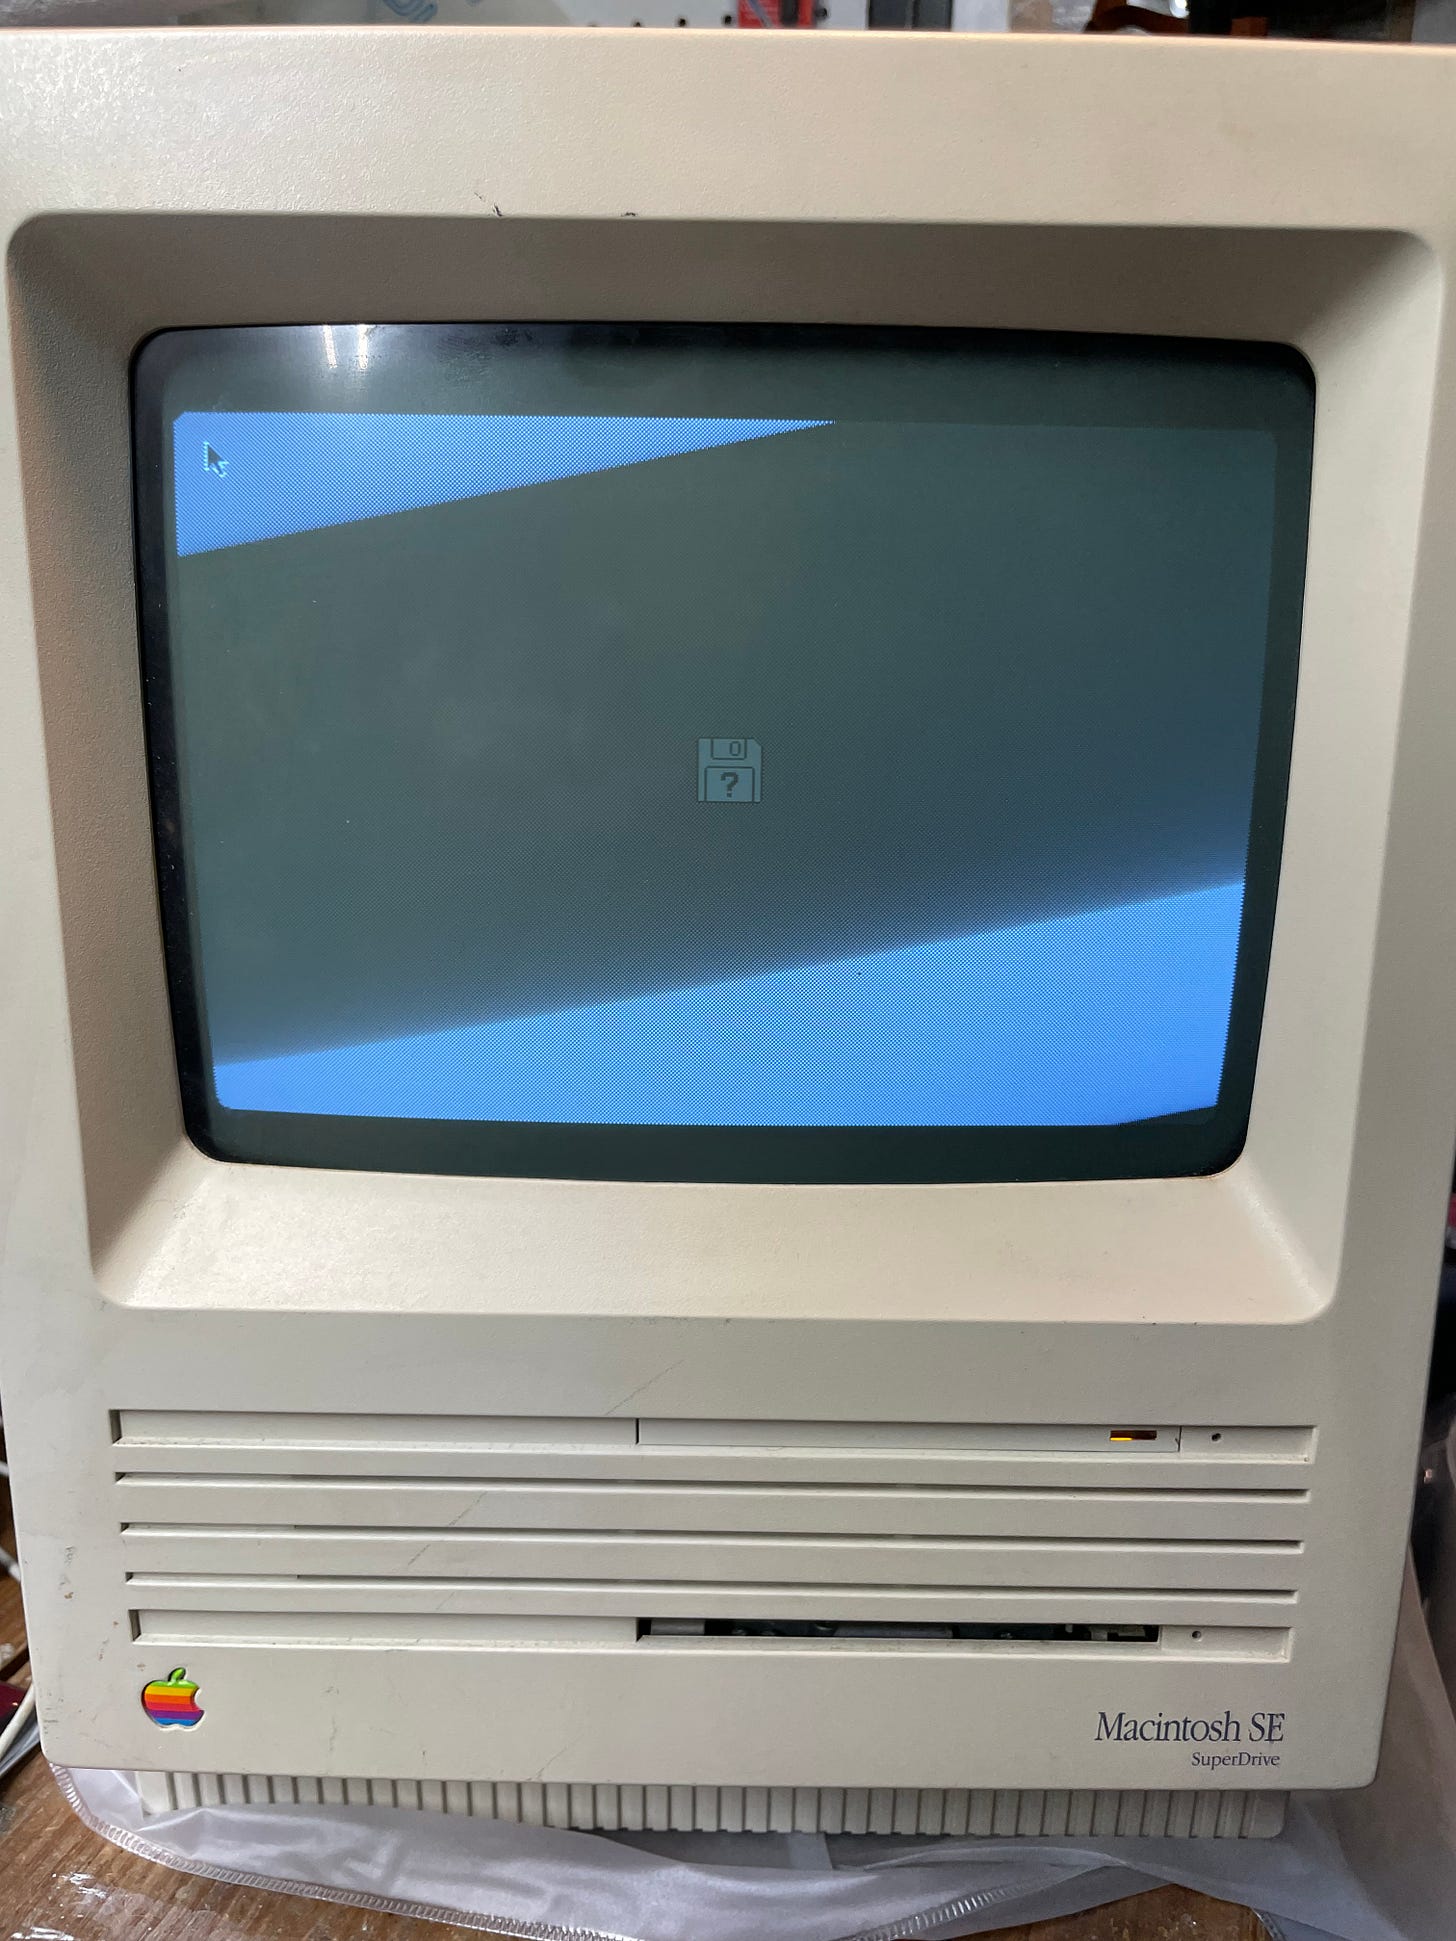
Sheer happiness mixed with a little surprise. Honestly, that’s how I felt when the computer powered up to show a cursor on a perfectly normal looking screen. My first attempt at restoring a computer to a working state by replacing its capacitors had worked.
The project took me just under 3-hours total. That breaks down to about two hours over a couple of different working sessions to get the old capacitors off, and about 45 minutes to get the new capacitors soldered on.
Personally, I liked soldering the new capacitors on a lot more than taking the old ones off — exponentially more — and not just because it went quicker. Thinking on it, I suspect that was because it played to some muscle memory of prior soldering work, but also because that part of the project had less of a try-and-try again feeling to it, and it felt more tangibly like restoration work to be in the putting-things-back together phase.
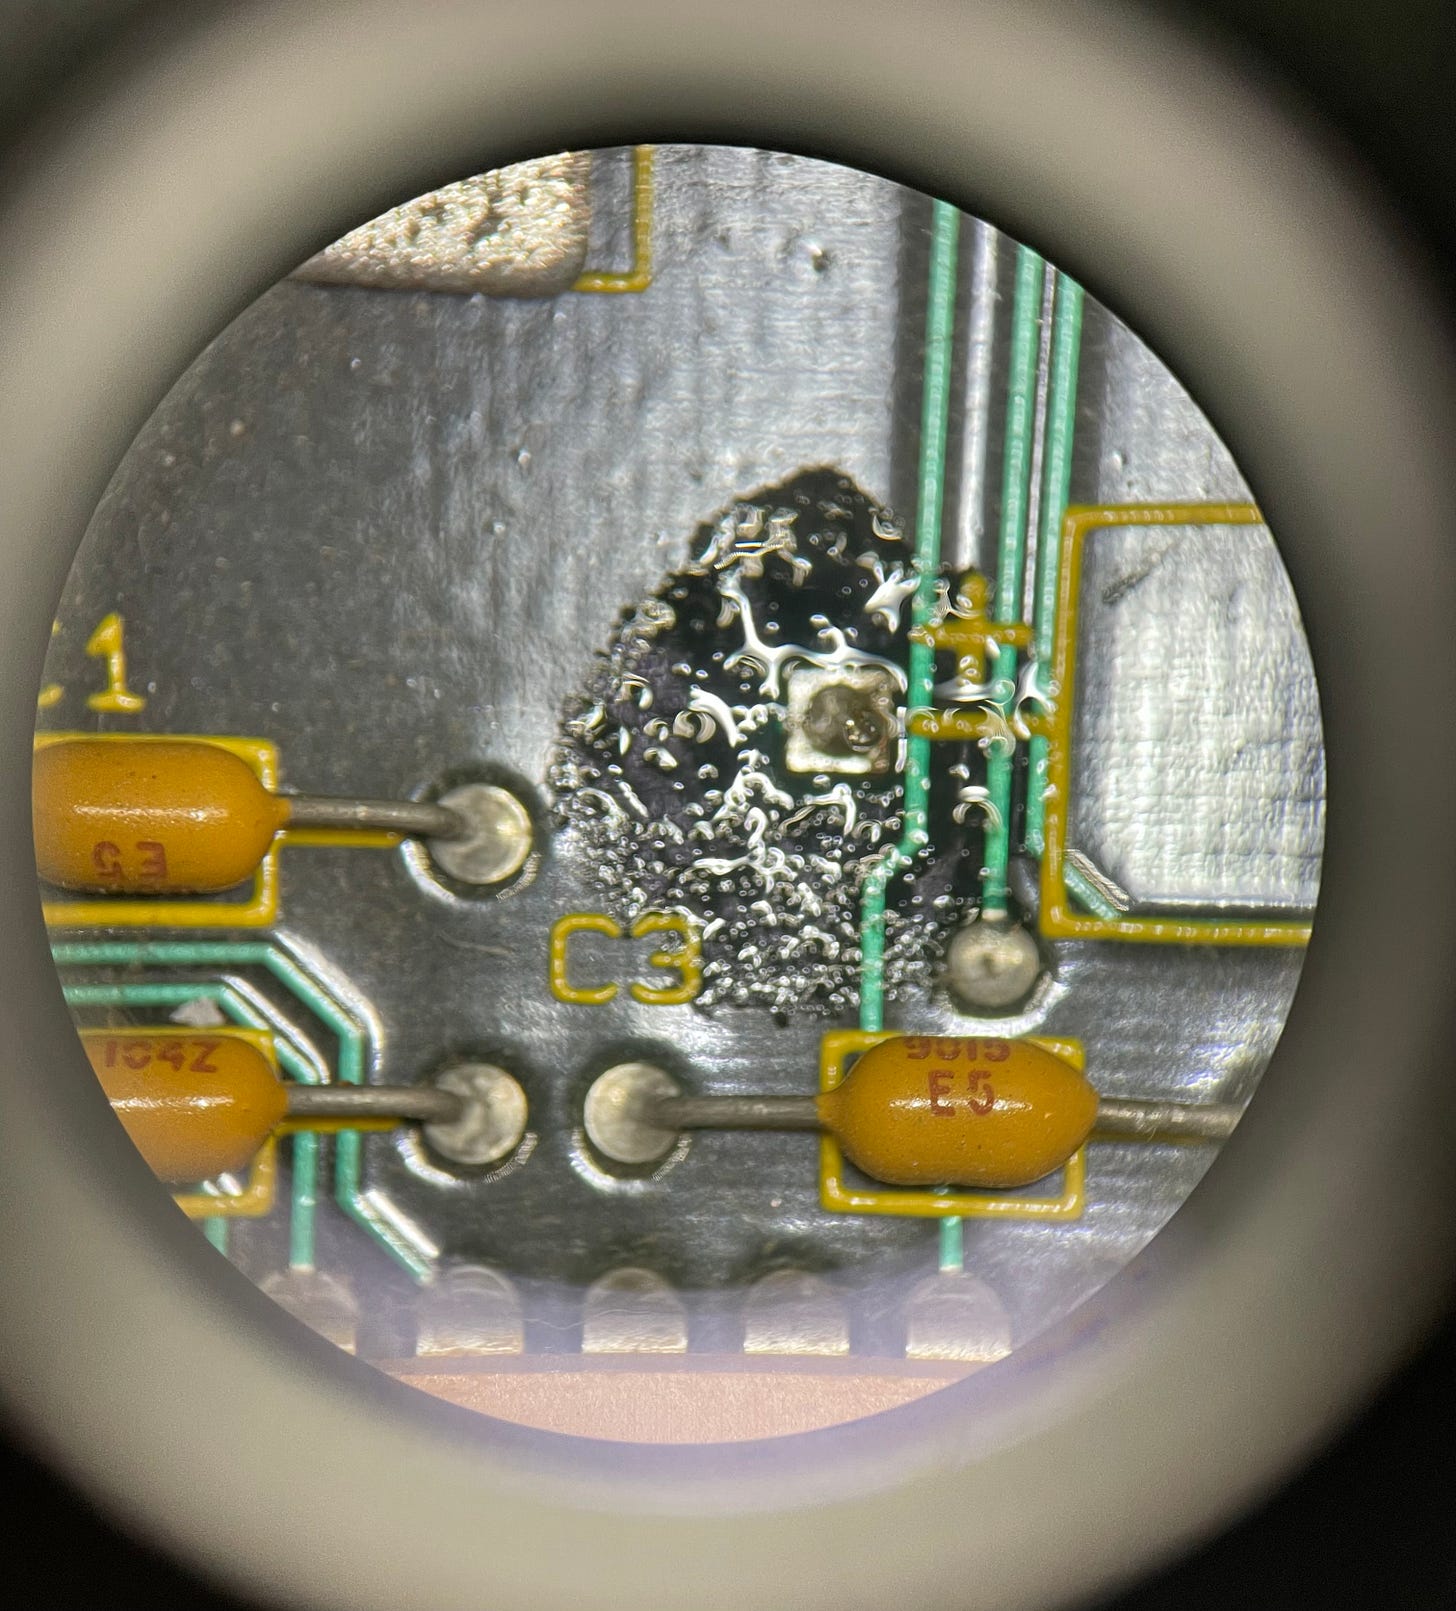
To take off the old capacitors, at first I tried de-soldering the capacitor on both sides and pulling it off the board with pliers. That didn’t work as well as I thought it might. I was tempted to try the hot tweezers but was concerned about the amount of space I had to work with, and didn’t want to damage the board. Instead I cut the capacitors off the board and then applied some rosin paste flux to each wire stub. Then I held the soldering wick in one hand and the soldering iron in the other to remove the old solder and clean up the connection point on the board. Frustratingly, sometimes the stub of wire wouldn’t simply fall out on the first go.
After I had all the old capacitors removed, I fed the long wires of each new capacitor into the holes on the board and then on the back of the board I bent the wires to the sides so the capacitors would stay in place. Then I soldered each wire to the board, and finally used the wire cutter to trim the long wires on the back side to be flush.
The whole time I found myself working through the microscope, and I felt like that was easy to do. I kept the microscope at 10x which was plenty of magnification. Without the microscope I would have struggled to see well enough to get the old solder removed cleanly, or the new solder applied well.
Here's what I learned about the process, technically:
The soldering iron came with what looked like a very fine tip, but right away I reached for the bag of tips that came with it and found something even more fine tipped.
Solder wick is amazing. It worked so well. I learned quickly is to keep trimming it back so that a fresh piece can soak up more melted solder. At first I was being too frugal. Even with frequent trimming I probably only used a couple of inches solder wick on this project. The tiny roll of solder wick will last a long time.
Cut off the old axial-type capacitors. It’s quicker. But now that I have an opinion on technique I want to rewatch some videos of the experts to see if I started to develop a bad habit.
The soldering iron seemed like the right tool for the job of removing this type of capacitor. I never reached for the hot air or hot tweezers on this one.
Take a picture of the board before starting. It’s important to have a reference diagram. I basically didn’t do this. I took pictures for an earlier journal entry luckily, but sat down to do this work without thinking of this important step.
Find, or make, a replacement diagram — like this one from Recap-a-mac. Without such a resource I would have failed, because I cut all the radial capacitors off and then realized one of the new 11 capacitors was different from the others. Which one!
I like soldering. More soldering projects will be a-okay.
Working through the microscope is completely bad ass.

Having done this work I remain happy with all the recommended tools. At some point in the future I’d like to add these tools to my collection:
Better, smaller needle nose pliers. I have a small needle-nose pliers. I’m interested to find a very small needle nose pliers.
Better, small wire cutter.
The process is about more than the technical though. I felt some self-imposed pressure to succeed, in part because of the meta nature of having written about this project. I wanted to write more about the project, and I wanted to get into follow-up projects with this computer since I’d found the surprise network card.
Failures are part of the creative process, for sure. I realize it takes work to not fear failure though. If you’ve followed this project you may recall I even selected this computer to try recapping because it wasn’t particularly rare in my collection. I tried to give myself some room for failure and still felt some heaviness of pressure to succeed.
Some negative thoughts going through this project:
I should have started with something easier. There were 11 capacitors to replace on this motherboard. I should have selected a computer with fewer!
Why did I pick a computer that didn’t work pre-project? How would I know if I’d been successful? I should have started with something that would be more likely to work out so that I’d feel like I learned something. There’s no way this is going to work!
I picked the Mac SE to practice on yet people on the internet say that these type of capacitors don’t fail nearly as often as the radial single-ended type. People might want to read about a fancier or more rare computer being fixed anyway. What a poor choice!
Luckily, I never felt like those negative thoughts were shouting inside my head, but better to share them openly so they die in the sunlight.
Supporters, comment if there’s something you’d like to see done next for this computer restoration project. Here’s where things stand with it right now, and what I can think of for possible next steps:
I need to find a boot disk, or obtain some other way of booting the computer — like the Floppy EMU from Big Mess o’ Wires.
The screen seems to be stable without flickering or burn in, but I think the size and position of the active portion can be improved while the case is off.
The fan noise seems loud. I think I’ll see what options might exist to replace it with something more quiet.
The 40MB HD light blinks like something is going on, and it doesn’t make any concerning noises, but clearly the computer isn’t finding the drive, or anything on the drive. First I’ll need to get the computer booted before I can troubleshoot.
I can’t tell how much RAM is in this computer by looking at the RAM chips. After getting it booted I’ll be able to determine if upgrading the RAM to 4Mb is a future project.
Put the aforementioned network board back into the computer and see if I connect it to the internet.
Clean the motherboard. I haven’t investigated how people do this yet.
Clean the case.
Finally, here are some other things I want to do next:
Find if there’s a better way to take a photo of a CRT screen.
Rewatch a video on taking off radial electrolytic capacitors to see if I can improve my technique.
Start another recapping project to continue practicing.
Have less stress over what success looks like when I’m trying something new.
For supporters, here are some more behind-the-scenes pictures from this first recapping project.
Keep reading with a 7-day free trial
Subscribe to Smiling Savage to keep reading this post and get 7 days of free access to the full post archives.


