Photo printing on various media
Photography
I’ve been experimenting with making photographic prints on different media. It’s been an opportunity to learn about new software, hardware, and processing workflows.
In the last week I’ve scanned 35mm film negatives into 4K images at the library’s Maker lab, and processed the images for printing onto an Epson SureColor P800 and onto a Glowforge CO2 laser cutter.
So far, I’ve stubbornly held off on buying a Photoshop subscription but I have found the editing features of the nondescriptly named Photos, version 7.0 in macOS Monterey, to be adequate so far. For example, I’m happy with the adjustments to this airplane image for digital printing.

I processed four other images the same way and took them to Photoworks at Glen Echo to print in their digital darkroom. I got two paper sample packs from Red River Paper — the 9980 Photos Base Sample Kit and the 99832 Fine Art & Photography Discover Kit. Here are the results seen next to one another.

So far, I like the results on to UltraPro Satin 4.0 most, though I think the results on the matte are striking different than anything I’ve ever achieved in a traditional darkroom. I wanted to like the textured look of the canvas paper, but I don’t think much of this first attempt. In any case, I look forward to trying other papers in the coming weeks, and of course further perfecting digital printing technique.
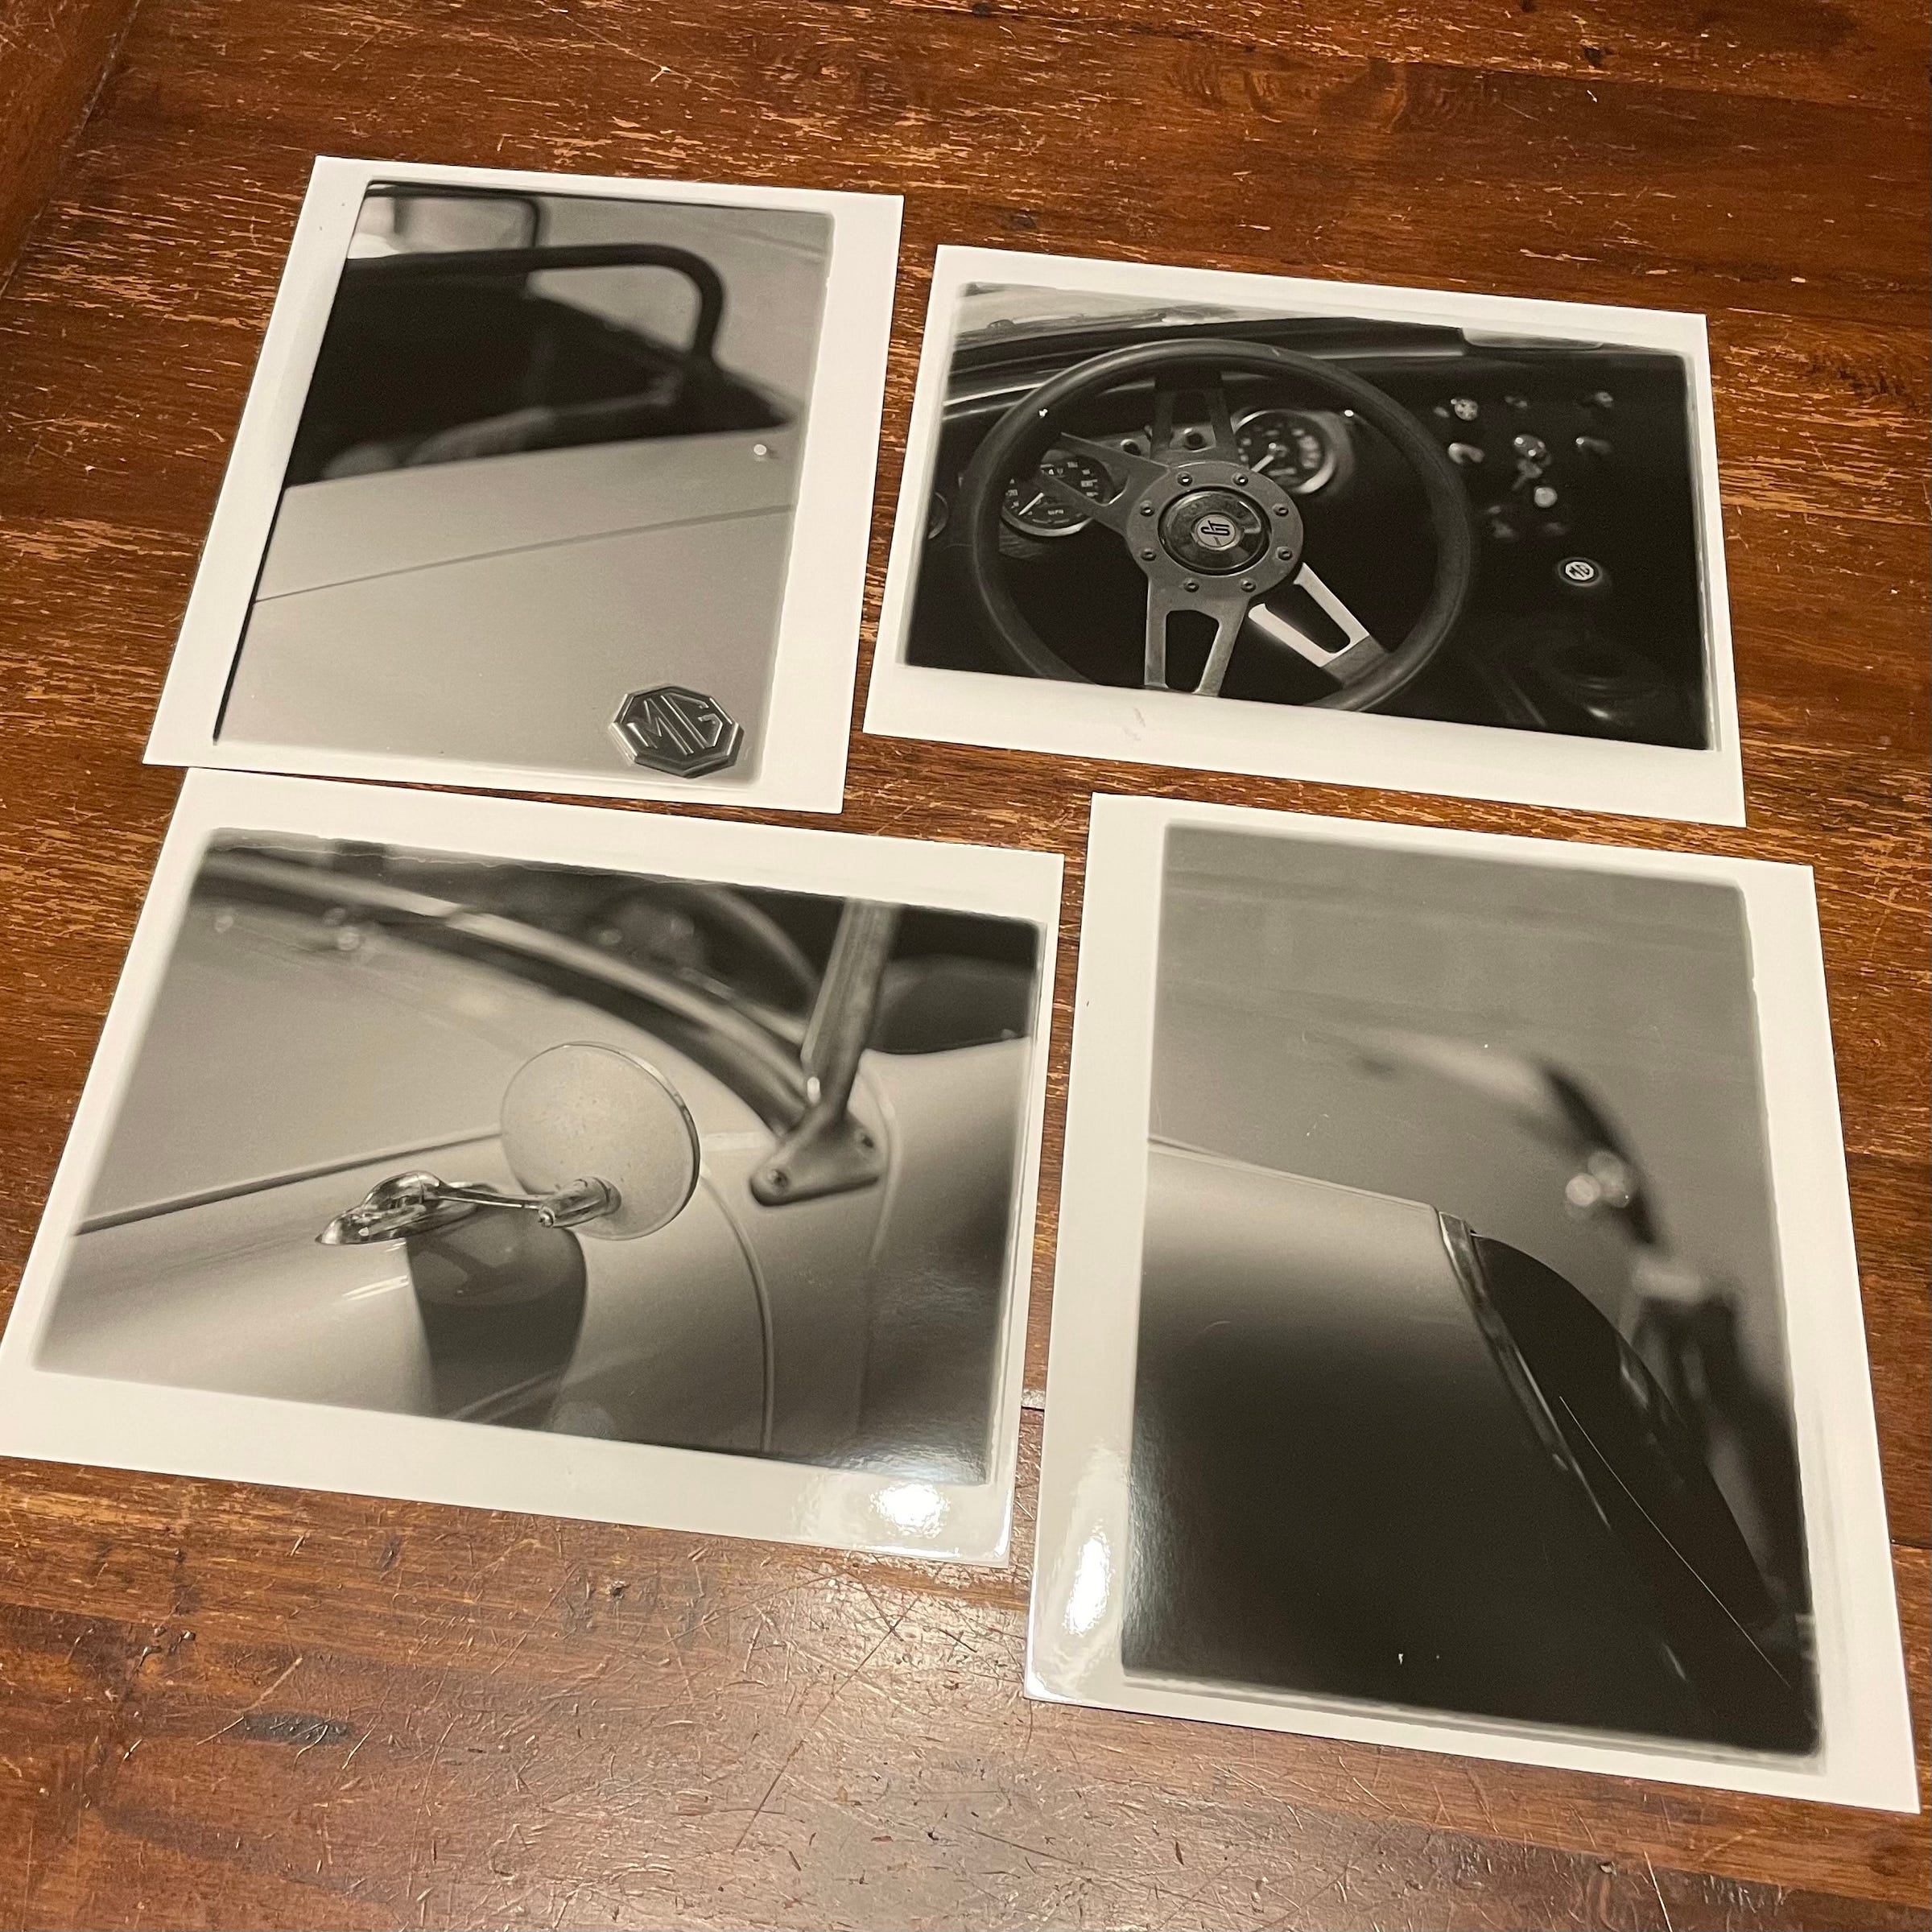
While I was at Photoworks I also made several more prints in the traditional darkroom — detail shots of the mk1 Midget project car. I found it to be an efficient use of time to start in the darkroom, then shift to digital as the analog prints were in the wash and dryer.
I’ve also tried my first proof of printing one of the 4K images to wood via the Glowforge at the Arlington Central Library’s Maker Lab.
The wood was some plywood I got from Home Depot just before my Glowforge appointment. I wanted to print the first one at 8 x 10 size — the same as the other prints — just for conversation value. In itself, that decision imposed quite a constraint: I reserved an hour and this print took about 50 minutes to make.
While I’m not super impressed by how this came out I have a lot of things I’d like to try differently as experiments. Different woods will give quite different results, and I’m particularly eager to try some of the “Proofgrade” material from Glowforge. Generally speaking I should also do a test grid on each new wood too, to have an idea of how dark various laser power levels will be — which seems very similar to creating a test strip in the traditional darkroom. Next time I don’t think I’ll mask the wood with tape either. I should tweak the settings of the image’s histogram levels and sharpness. And there are are higher quality settings that I can use in the Glowforge UI too — plus, I should make etchings at smaller sizes until I see the results I want. In the long run there may be additional tricks worth exploring too. I’ve seen some discussion online about the merits of pre-treating the wood with a Borax mix to darken the images.
After the paywall are several more images for paid subscribers…
Keep reading with a 7-day free trial
Subscribe to Smiling Savage to keep reading this post and get 7 days of free access to the full post archives.


