Finding my way back to the darkroom
Here’s a progress report on getting back into shooting, developing, and printing black and white photography for the first time in 30 years.
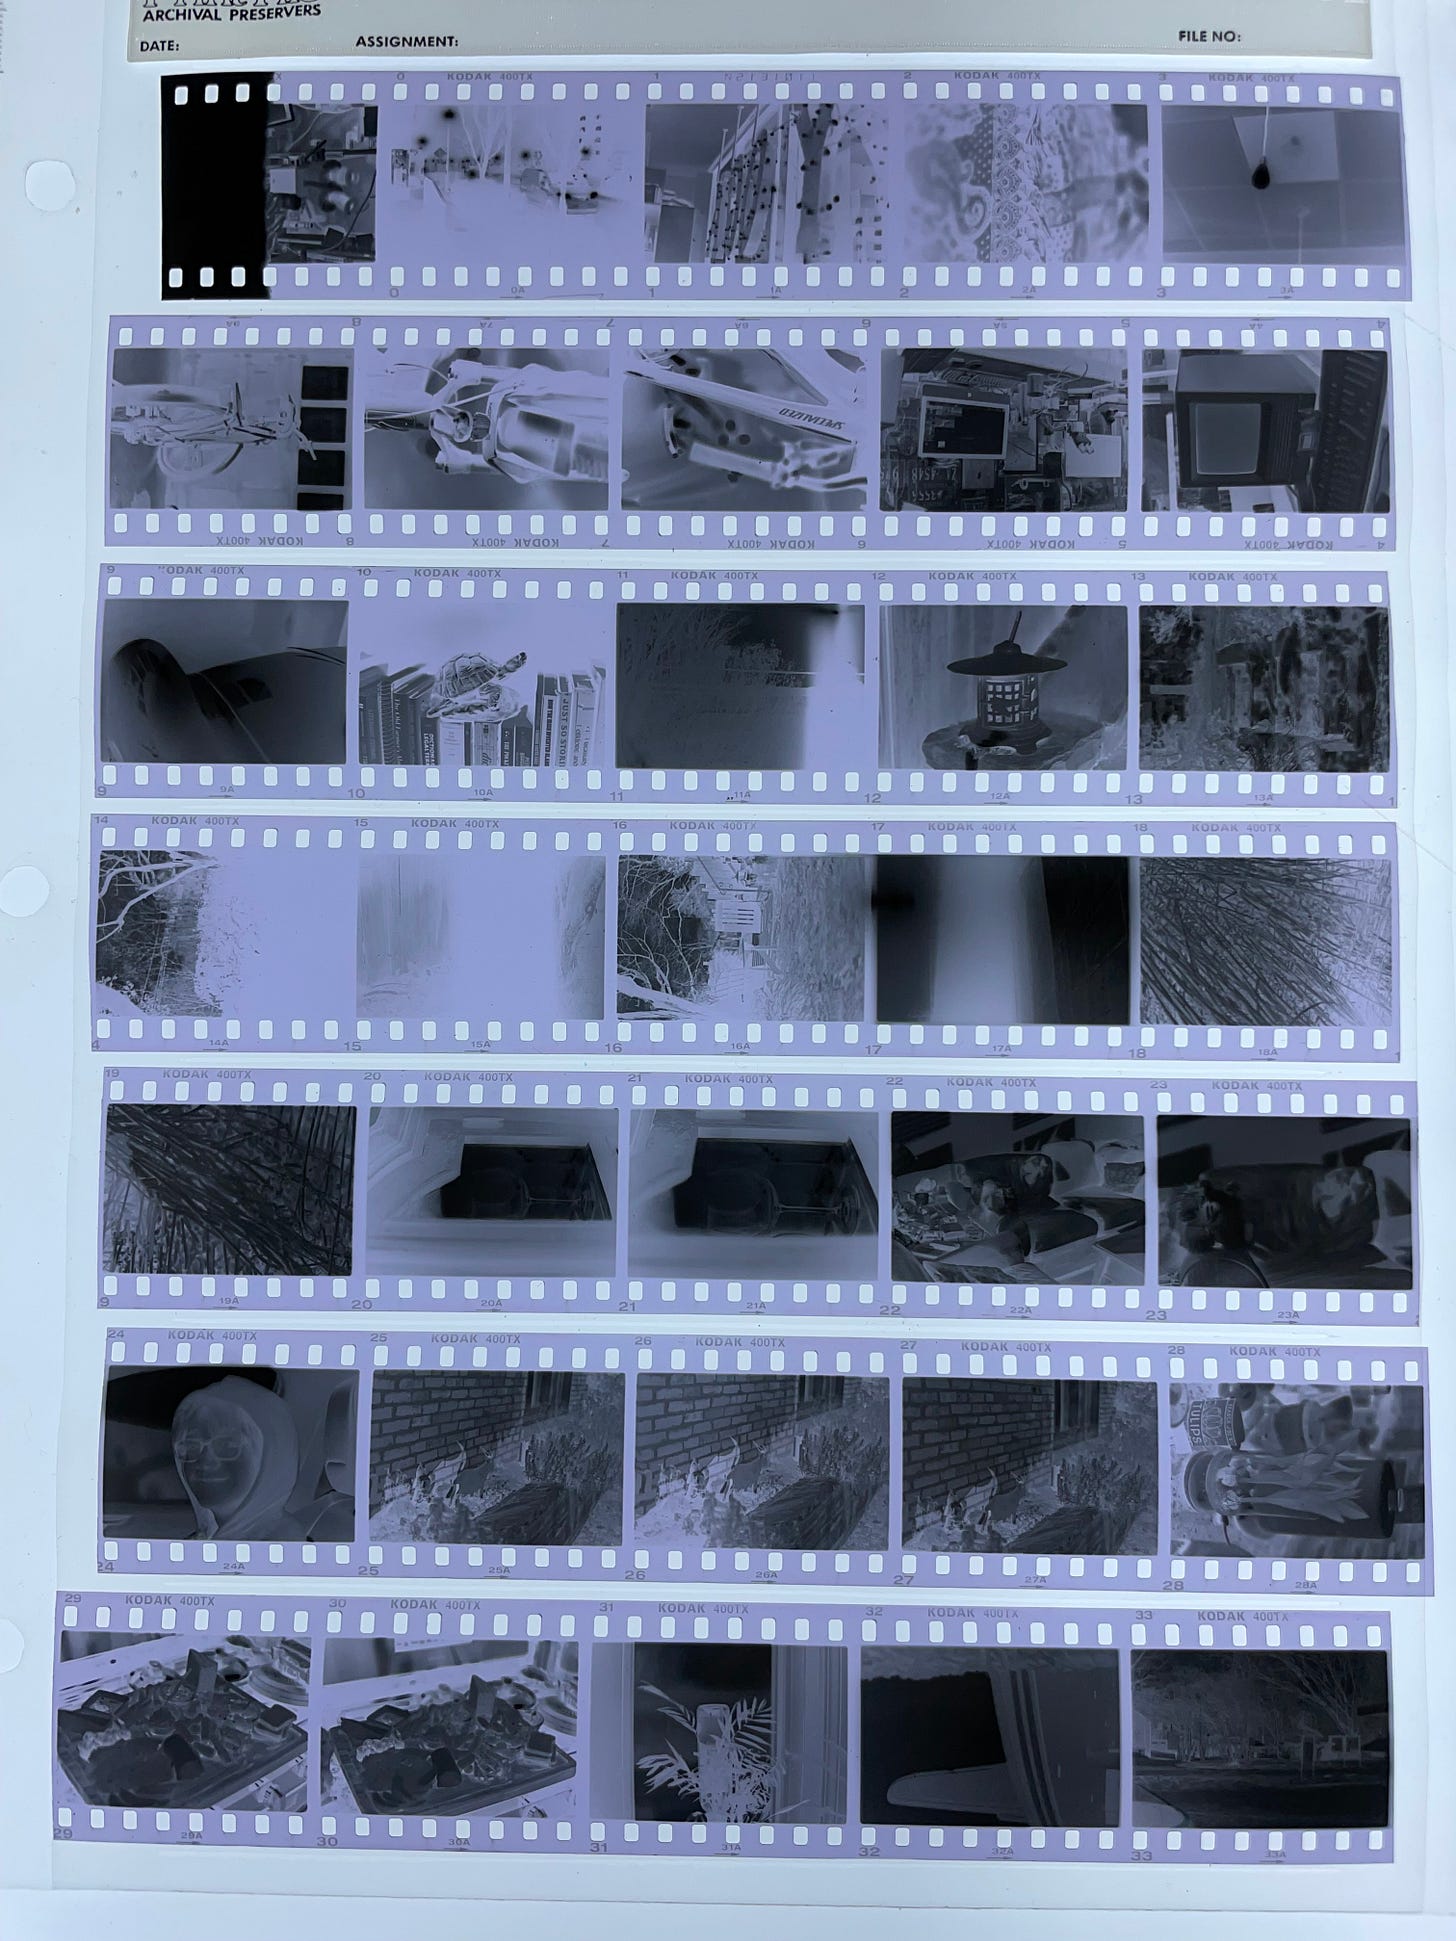
After introducing this project a couple of weeks ago, I went to the camera store to get a new battery for my camera’s light meter and a roll of Tri-X 400 black and white film.
With my aim being to get back into the darkroom to re-learn how to develop film and make new prints, I set a goal of shooting my first roll of film in a week. I didn’t want to get hung up on any type of procrastination such as waiting for the perfect weather or unique locations. Also, I figured if I was going to encounter the unexpected I’d like to have some enthusiasm momentum to work through problems.
A lot of the process of manual photography came right back. And though my first impression was that it’s harder than I remembered, I recognized that to be a trick of memory. Actually, the photography I’d been doing for these last thirty years has gotten progressively effortless.
I definitely still found enjoyment in the dance of adjusting the framing, focus, aperture, shutter, and checking the light meter. There were many occasions where I’d spend a half minute or more getting things just right only to find I hadn’t yet advanced the film and would start some percentage of the process over again.
Even if only for seconds, I found the concentration required to get a shot to be psychologically rewarding. When I allowed myself to be in the moment of taking a photo, that moment felt like practicing an art.
It was good to rediscover those moments when artistic intent raised its hand to interrupt — like when the light meter said I have a shot that would work, but I’d already realized the subject isn’t framed right, or the depth of field wouldn’t be what I had in mind. The manual adjustments enforced, at least encouraged, patience: You’ve spent this long, why not a little longer?
More challenging was when I composed the shot mentally but the actual mix of light, optics, and luck pushed back: I could have had the perfect framing, the desired depth of field, but perhaps there wasn’t actually enough light to get that shot. At that point it’s a matter of how stubborn one wants to be. Personally, I’m all too prone to start chasing the image I want down the shutter past good sense into hope.
Brain: You can hold your breath to be perfectly still for a second, right?
My 50MM 1.4 is as fast a lens as one could hope, and I still found myself wanting to widen the aperture, push past one second exposures, brace, and pray.
On this first roll, my relatively slow speed with the process of capturing an image pushed me in the direction of shooting non-moving things, but I tried to capture at least a couple of portraits.
On my first roll of 36 pictures, I’d peg the number of times I took a photo and then immediately looked at the back of the camera at about 30. That’s how strong the conditioning of instant photographic gratification has been.
Brain: Did I get that picture?
Film photography: You’ll find out later.
Brain: But I want that picture!
Film photography: You did your best. Now wait and see.
Not unlike the photographer, the camera showed its age at times. First the original piece of leather holding the shoulder strap to the camera snapped. Miraculously, I caught the camera. Phew!
Also, the mirror wouldn’t always automatically drop after a shot, especially when shooting shutter speeds at a second or slower. I’ve already began asking around for recommendations on who might best apply the proper TLC to get the camera’s internals lubricated back up to snuff.
I was still shooting the last few shots on the first roll as I arrived at Photoworks at Glen Echo Park. Located just outside of DC, Glen Echo is an arts and cultural center that spent the first half of the twentieth century as an amusement park. The Photoworks studio and lab aims to offer a mix of education and exhibition. Their traditional darkroom has a mix of enlargers to support various film sizes, two film developing rooms, a film dryer, and more. All the chemistry to develop film and prints is there and set up.
Mack — like the truck — was the experienced photographer on hand to help out the day I visited. That day Mack was shooting with a pin-hole camera he’d made and he explained his process; carefully taping some paper inside the drum in the darkroom, then setting the camera outside weighted with some rocks to stop movement, then waiting a minute or more for the right exposure, develop the print, and repeat. His shots were beautifully saturated and moody, filled with trees and reflections that warped artistically at the edges.
Meanwhile despite having watched some YouTube videos to remind myself of the film developing process, I was nearly paralyzed when first confronted by the array of reels, drums, thermometers, measuring cups, and timers. Mack pointed out all the key elements though and I got to work.
There’s the ritual of putting everything into just the right spot so that your hands can find everything and then a few minutes later I was into the dark for the first time. There’s the exciting point of no turning back that happens once the film canister is opened. Winding the film onto the developing reel went great though, and a few minutes later I had it safely in a correctly assembled developing tank.
Pouring, timing, and agitating the tank went well enough. I was lucky Mack stuck his head in to check on me when I started to wash the film. While I’d run through all the chemicals as listed, Mack caught right away that the fixer hadn’t worked and the backing was still on the film. I wasn’t looking for that problem since I was content (actually ecstatic) having seen developed images. He grabbed fixer from the other room and I went back a couple of steps to do it again.
The negatives came out great! After the film was dried and cut it was time to try making prints.

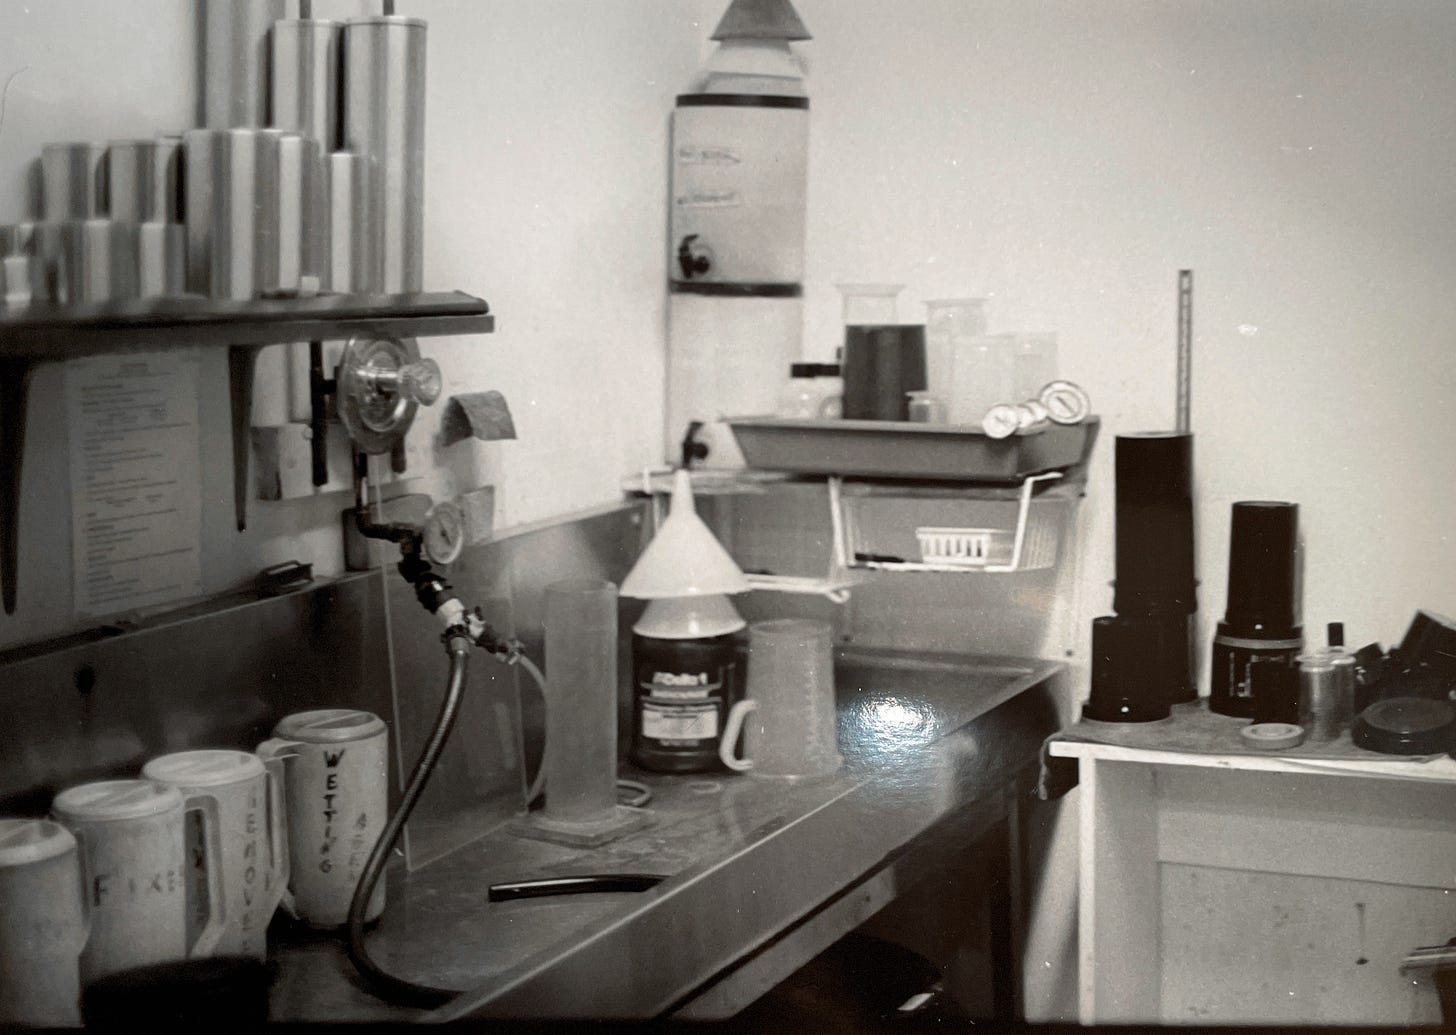
I had to be reminded about test strips, since any neurons that remembered that step clearly died or found other work. So, using an image of the Photoworks developing room I’d captured a couple of hours earlier I held a piece of cardboard over a strip of photographic paper, and moved it an inch every couple of seconds until the enlarger switched off after the pre-set 10 seconds. After putting the strip through the developer, stop, and fixer I saw 5 gradient steps and pegged the 6-second zone as what I wanted. Six seconds and several minutes of chemical baths later, I had this — my first print since 1993:

This was the fun I wanted: The process of working to bring an image to life so that it can be shared; Experimenting with settings in the dim red glow of the darkroom; Waiting for the image to spring out of the clear developer bath as if it had always been on the paper but needed to be coaxed to make an appearance. Even the sound of the running water there in pale light stirs a calm feeling.
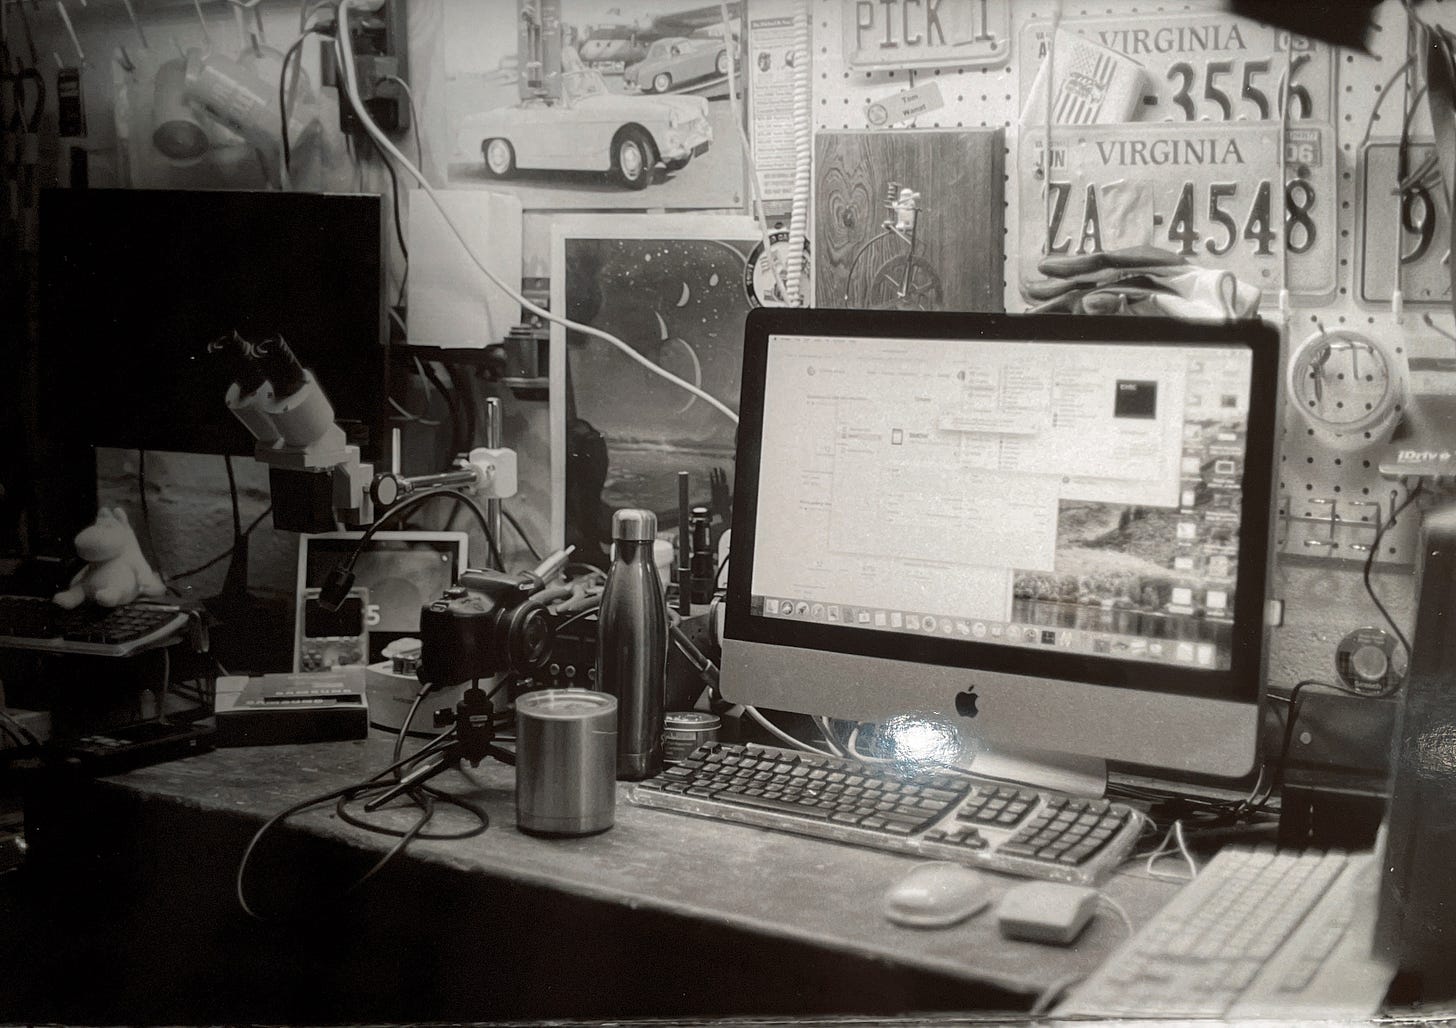
At this point in the day I was running out of time before the lab closed. I had time to make these three more prints. Critically, I outright forgot to focus one, and one is under exposed, but I’ll be back to make more.


I’ll plan to post more work when I complete my next printing. I’m planning to try shooting much faster film to get different types of images too. For paid subscribers there are a some more behind the scenes shots after the paywall and, of course, the comments section.
Keep reading with a 7-day free trial
Subscribe to Smiling Savage to keep reading this post and get 7 days of free access to the full post archives.


